Beyond the Pink Fluff: The Complete Guide to Rigid Foam Board Insulation
When most homeowners think about insulating their homes, they picture the standard “pink fluff”—fiberglass batts rolled out between wooden studs. While fiberglass has its place, it has a significant weakness: it acts like a wool sweater. It keeps you warm, but if the wind blows through it or it gets wet, it loses its ability to protect you.
Enter Rigid Foam Board.
If fiberglass is a wool sweater, rigid foam is a high-tech, windproof, waterproof hard shell jacket. It is the heavy hitter of the insulation world—tough, versatile, and offering some of the highest R-values per inch of any material on the market.
But walking down the insulation aisle at a hardware store can be confusing. You will see white boards, blue boards, pink boards, and foil-faced boards. Which one goes in the basement? Which one goes on the roof? And is it worth the extra cost?
This guide breaks down everything you need to know about rigid foam board, helping you decide if this powerhouse material is the right solution for your energy efficiency upgrades.
What Exactly is Rigid Foam Board?
Rigid foam insulation (also known as continuous insulation) is a panel of stiff plastic foam. Unlike soft batt insulation, rigid foam doesn’t compress, slump, or settle over time. It is designed to be structural and durable.
Because of its density, it provides excellent thermal resistance. More importantly, it solves a problem called thermal bridging.
The Thermal Bridge Problem
In a typical wood-framed house, insulation goes between the wooden studs. But wood itself is a poor insulator. Heat can travel straight through the wooden studs, bypassing the insulation entirely. This is called thermal bridging.
Rigid foam is often installed across the entire surface of a wall (inside or outside), covering the studs and breaking that thermal bridge. This creates a continuous layer of protection, significantly boosting the overall energy efficiency of the home.
For a broader understanding of how heat flow works and the basics of thermal envelopes, you should read our foundational article: The Invisible Shield: What Is Insulation and Why Your Home Needs It.
Board Up Savings: Get Your Free Rigid Foam Audit
You've gone beyond the fluff with rigid foam board insulation—now let's build it into your home's fortress. Our NYSERDA-certified team excels in precise board installs, rebate processing, and custom applications that cut energy bills by up to 30% for walls, basements, and beyond. Turn insights into action. Call or email for your no-cost assessment today.
The Three Kings of Foam: EPS, XPS, and Polyiso
Not all foam boards are created equal. There are three main chemical compositions, each with its own color coding and specific use cases. Choosing the wrong one can lead to moisture problems or wasted money.
1. Expanded Polystyrene (EPS)
-
Appearance: White, comprised of small beads compressed together (looks like a coffee cup or packaging foam).
-
R-Value: Approx R-3.6 to R-4.0 per inch.
-
The Lowdown: EPS is the most budget-friendly option. It is semi-permeable, meaning it can absorb some moisture and let it dry out.
-
Best Uses: It is commonly used for insulating concrete forms (ICFs) and roof insulation. Because it is the cheapest, it’s a good choice when you have plenty of space and need to build up thick layers of insulation without breaking the bank.
2. Extruded Polystyrene (XPS)
-
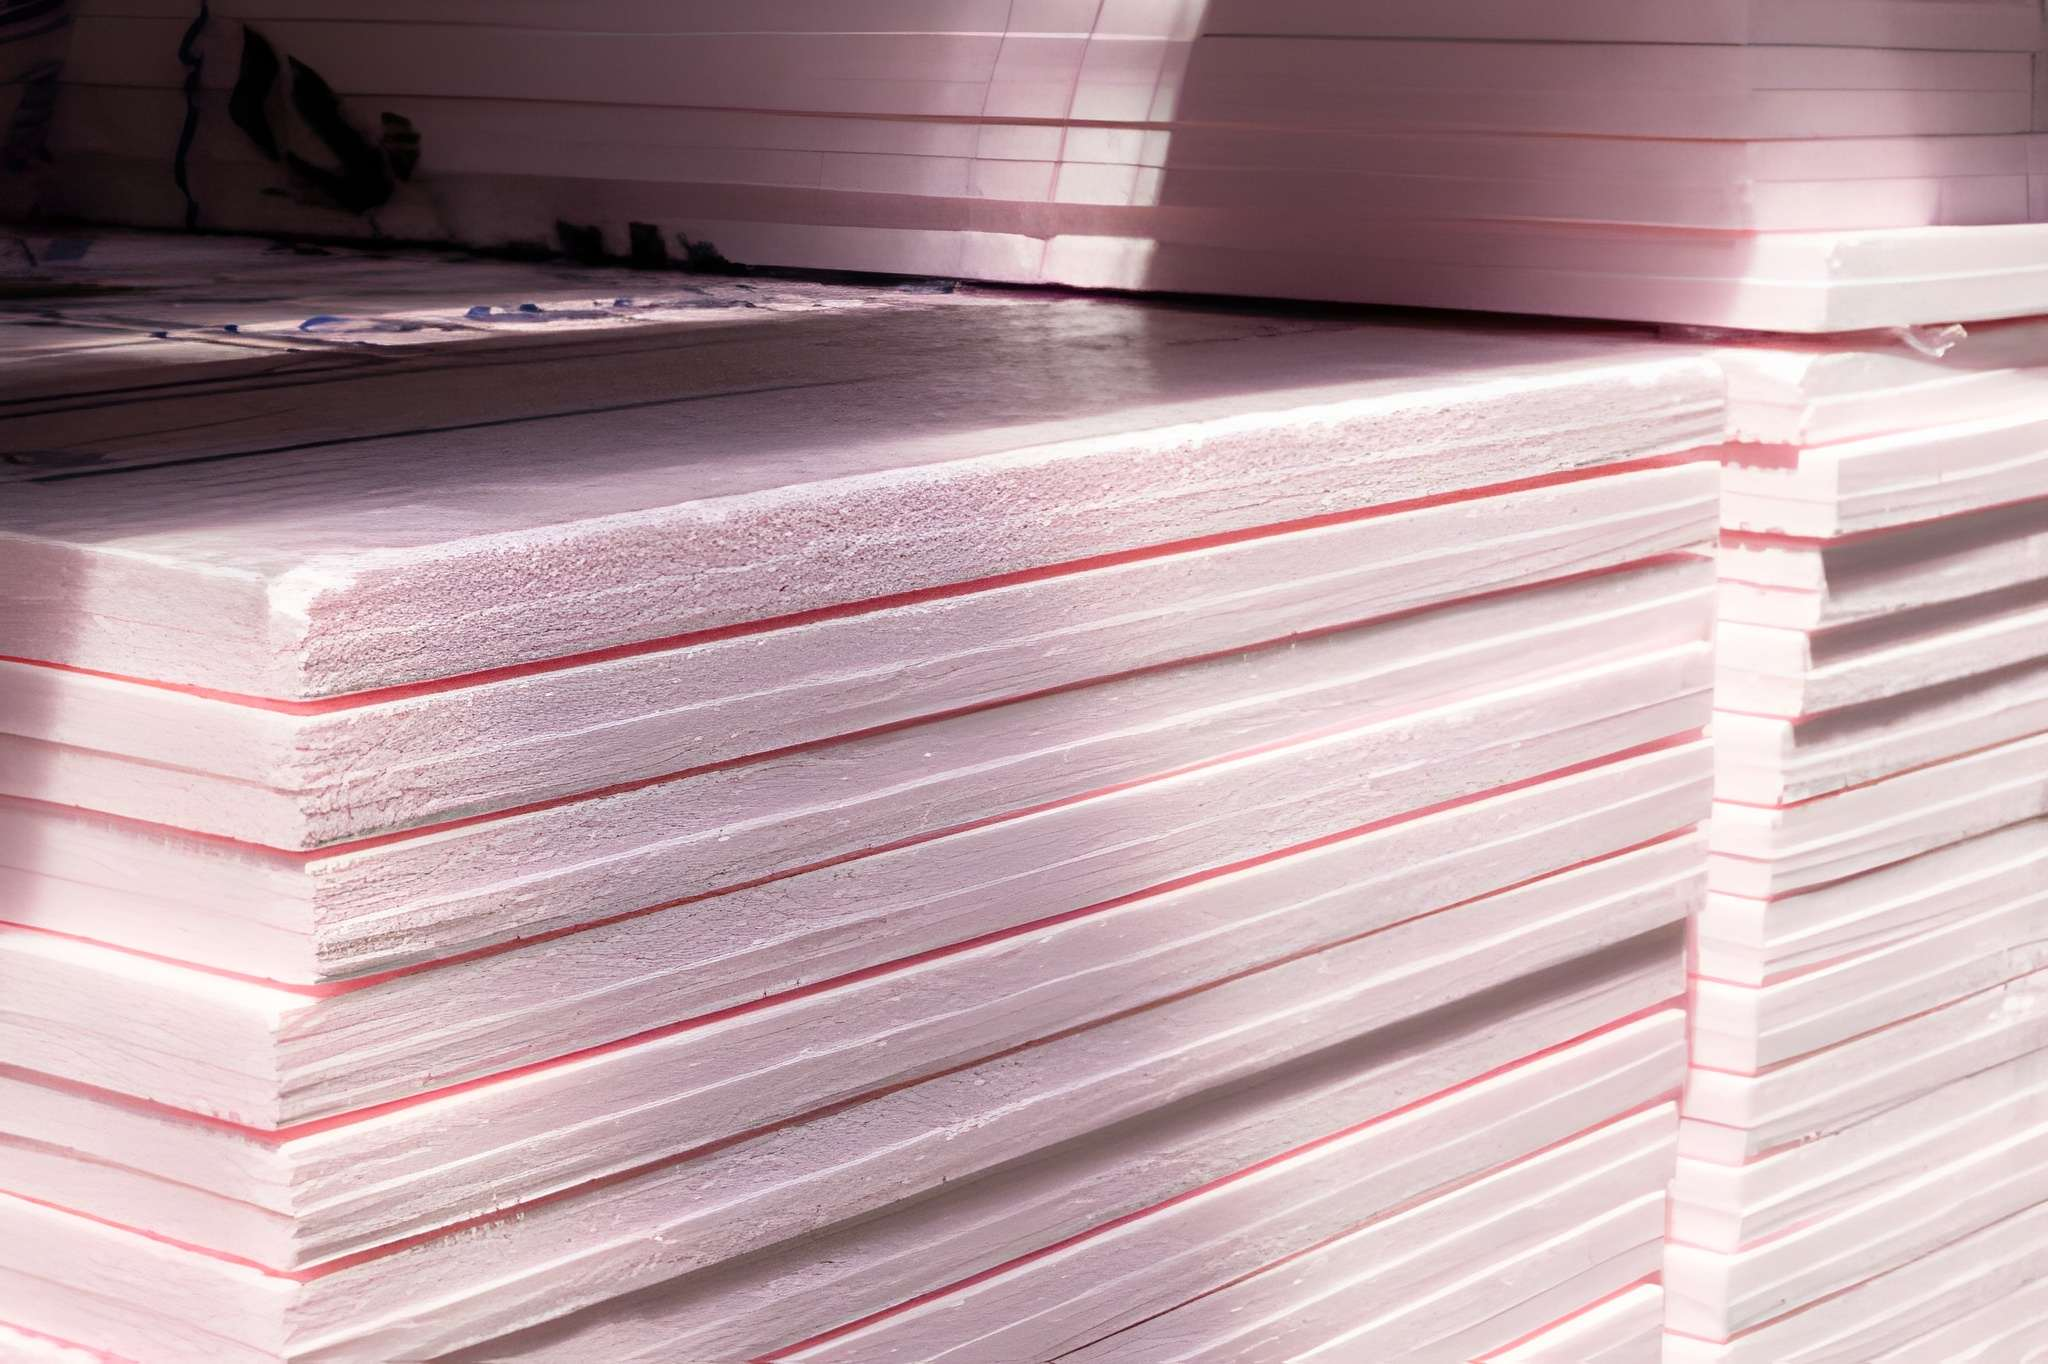
Appearance: Smooth plastic surface, usually Blue (Styrofoam™) or Pink (Owens Corning).
-
R-Value: Approx R-5.0 per inch.
-
The Lowdown: This is the most versatile foam for residential renovations. It is stronger and denser than EPS and acts as a semi-impermeable vapor retarder. It is highly resistant to water absorption.
-
Best Uses: Basements and Slabs. Because it handles moisture so well, XPS is the gold standard for insulating basement walls before you put up framing. It stops the damp concrete from ruining your finished walls.
3. Polyisocyanurate (Polyiso or ISO)
-
Appearance: Yellow or cream foam sandwiched between foil facings (silver or white).
-
R-Value: Approx R-6.0 to R-6.5 per inch (The highest of the three).
-
The Lowdown: The foil facing makes this a radiant barrier as well as an insulator. However, it has a weakness: it absorbs water like a sponge.
-
Best Uses: Roofs and Exterior Walls. It is excellent for cathedral ceilings where space is limited and you need maximum R-value per inch. Never use Polyiso below grade (underground) or in basements where it might touch damp concrete.
Why Choose Rigid Foam Over Fiberglass?
If rigid foam is more expensive than fiberglass (which it is), why do contractors and energy auditors recommend it so often?
1. Moisture Management
This is the biggest selling point. Fiberglass absorbs water and holds it, which leads to mold and wood rot. Rigid foam (specifically XPS and EPS) resists water. In damp environments like basements or crawlspaces, rigid foam is the only responsible choice.
2. Air Sealing
Insulation only works if air isn’t moving through it. Fiberglass allows air to pass right through. Rigid foam, when taped at the seams and sealed with spray foam at the edges, acts as an air barrier. It stops drafts dead in their tracks.
3. Durability
Rigid foam does not sag. Thirty years from now, a sheet of XPS will be sitting exactly where you put it, providing the same R-value.
Board Up Savings: Get Your Free Rigid Foam Audit
You've gone beyond the fluff with rigid foam board insulation—now let's build it into your home's fortress. Our NYSERDA-certified team excels in precise board installs, rebate processing, and custom applications that cut energy bills by up to 30% for walls, basements, and beyond. Turn insights into action. Call or email for your no-cost assessment today.
Installation Spotlight: The Basement Retrofit
One of the most popular DIY projects for rigid foam is insulating a basement. Uninsulated basements can account for up to 30% of a home’s total heat loss.
Here is the “User-First” method for doing it right:
-
Clean the Walls: Remove any loose debris or efflorescence (white powder) from the concrete.
-
Glue it Up: Use a foam board adhesive specifically designed for foam (standard construction adhesive can melt the plastic). Apply vertical dabs to the back of the XPS (Pink/Blue board) and press it against the concrete.
-
Tape the Seams: Use high-quality construction tape (like Tyvek tape) to seal the vertical seams between boards.
-
Spray the Gaps: This is the most important step. Use a can of expanding spray foam to seal the top and bottom of the boards where they meet the floor and the rim joist. This makes the assembly airtight.
-
Frame Over It: Build your wood stud wall in front of the foam.
Pro-Tip: Do not install a separate plastic vapor barrier over the stud wall if you use rigid foam against the concrete. The foam acts as the vapor barrier. Adding a second layer of plastic can trap moisture inside the wall and cause rot.
The Cost Equation and Financial Help
Let’s address the elephant in the room: Rigid foam is not cheap.
A 4×8 sheet of 2-inch XPS can cost significantly more than a roll of fiberglass that covers three times the area. For a whole-home project, the material costs add up quickly.
However, you have to look at the Return on Investment (ROI).
-
Rigid foam lowers energy bills more effectively than fiberglass because it seals air leaks.
-
It protects your home from moisture damage, saving you from expensive mold remediation down the road.
Furthermore, you don’t have to shoulder the entire cost alone. Because rigid foam is such a high-performance material, it often qualifies for energy efficiency incentives. Government programs prioritize upgrades that yield real results, and air-sealing with rigid foam is a top contender.
If you are considering a major insulation project, you should verify if you are eligible for financial assistance. Residents in New York, for example, can utilize NYSERDA rebates to offset the costs of materials and professional installation. Checking these rebates should be your very first step before heading to the hardware store.
Safety and Code Compliance
While rigid foam is fantastic, it has one distinct disadvantage: It is flammable.
Most building codes require that rigid foam be covered by a “thermal barrier” if it is installed in a living space. In most cases, 1/2-inch drywall is sufficient to meet this code.
Warning: You generally cannot leave rigid foam exposed in a finished basement, garage, or living area. If a fire starts, the foam produces thick, toxic smoke. Always cover it with drywall or use a specialized product rated for exposure (like foil-faced Thermax™) if you do not plan to drywall immediately.
Is Rigid Foam Right for You?
Rigid foam board is not a “one size fits all” solution. It is a specialized tool for specific areas of the home.
Use Rigid Foam If:
-
You are insulating a basement or crawlspace walls.
-
You are re-siding your house and want to add exterior insulation.
-
You have limited space (like a cathedral ceiling) and need the maximum R-value possible.
-
You want to stop drafts and air leaks, not just heat transfer.
Stick to Fiberglass or Cellulose If:
-
You are filling standard stud cavities in upper-floor walls that are already dry.
-
You are on a very tight budget and air sealing isn’t your primary concern.
-
You are adding depth to an open attic floor (blown-in cellulose is usually king here).
Board Up Savings: Get Your Free Rigid Foam Audit
You've gone beyond the fluff with rigid foam board insulation—now let's build it into your home's fortress. Our NYSERDA-certified team excels in precise board installs, rebate processing, and custom applications that cut energy bills by up to 30% for walls, basements, and beyond. Turn insights into action. Call or email for your no-cost assessment today.
Conclusion: The Strong Silent Type
Rigid foam board might not look as cozy as a fiberglass blanket, but it is the fortress your home needs against the elements. It handles moisture, blocks wind, and breaks thermal bridges in ways that soft insulation simply cannot.
By understanding the differences between EPS, XPS, and Polyiso, you can choose the right material for the right job, ensuring your home stays warm in the winter, cool in the summer, and dry all year round.
Ready to stop wasting money on energy bills? Evaluate your home’s “weak spots”—usually the basement or the rim joist—and see if rigid foam is the solution you’ve been missing. And remember, high-performance upgrades often come with high-value incentives. Visit NYSERDA rebates to see how much you could save on your project today.